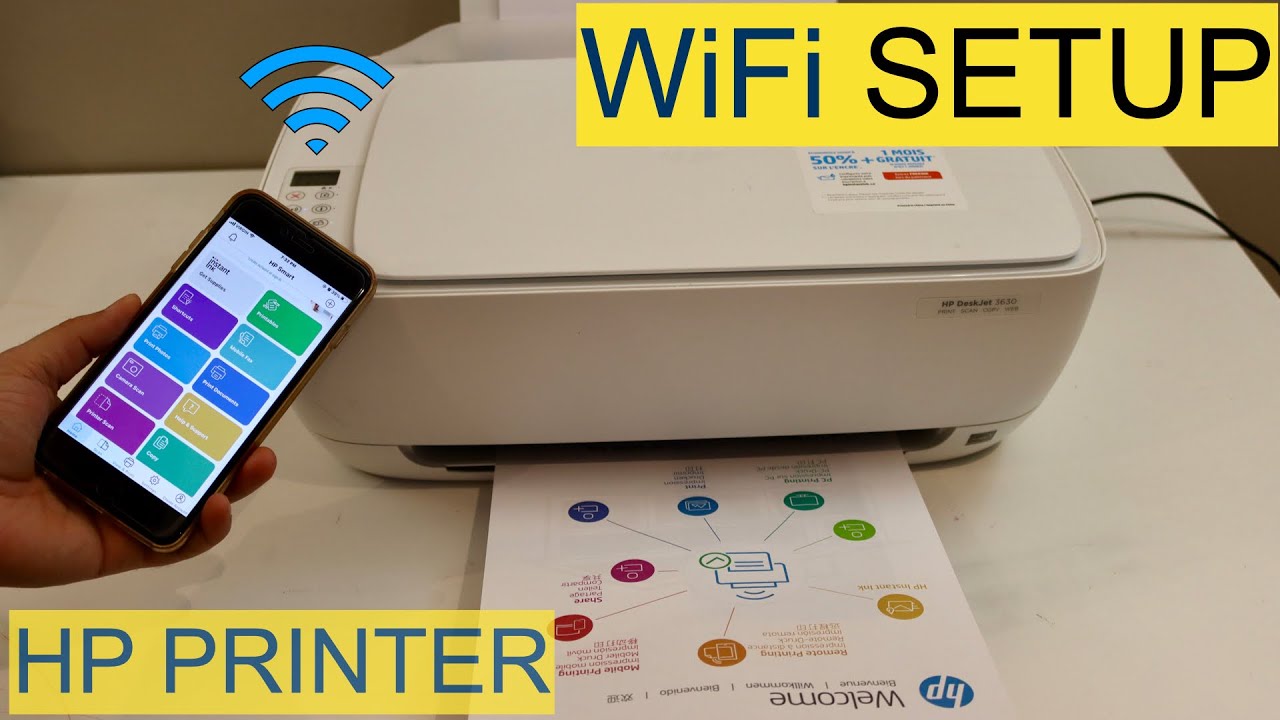
In this digital age, wireless connectivity is a must-have for any modern device, including printers. If you own an HP printer and want to set it up on your Wi-Fi network, you’re in the right place. In this SEO-optimized article, we’ll walk you through the detailed steps for HP printer setup wifi, ensuring a seamless connection to your network.
Gone are the days of needing to be physically tethered to your printer. Wi-Fi setup for your HP printer offers the convenience of wireless printing from any device in your network. This article provides a step-by-step guide to help you set up your HP printer on your Wi-Fi network.
Why Choose Wi-Fi Setup for Your HP Printer
Wi-Fi setup for your HP printer offers several advantages:
-
Convenience: You can print from any device connected to the same network, whether it’s a computer, smartphone, or tablet.
-
No Cables: Say goodbye to the hassle of connecting cables. Wi-Fi printing is cable-free.
-
Flexibility: You can place your printer anywhere within the Wi-Fi range, eliminating the need for a dedicated space near your computer.
Requirements for Wi-Fi Setup
Before you start the Wi-Fi setup, ensure you have the following:
- An HP printer with Wi-Fi capabilities
- A stable Wi-Fi network with the network name (SSID) and password
- A computer or mobile device connected to the same Wi-Fi network
Steps to Set Up HP Printer on Wi-Fi
4.1. Preparing Your Printer
- Plug in your HP printer and turn it on.
- Press the Wi-Fi or wireless button on your printer’s control panel (if available). This will trigger the printer to search for available networks.
4.2. Connecting the Printer to Wi-Fi
- On your computer or mobile device, go to the Wi-Fi settings and select the network that matches your printer’s name (SSID).
- Enter the Wi-Fi network password when prompted. This will connect your printer to the network.
4.3. Software Installation
- Visit the HP website and download the latest drivers and software for your printer model.
- Run the installer and follow the on-screen instructions to complete the setup.
Once the software installation is complete, your HP printer is ready for wireless printing.
In conclusion, setting up your HP printer on Wi-Fi provides the convenience of wireless printing from any device. By following the step-by-step guide in this article, you can enjoy the flexibility and freedom that Wi-Fi printing offers. Don’t hesitate to explore this modern printing solution and streamline your daily printing tasks.
HP Printer Not Printing: Troubleshooting and Solutions
In the realm of modern technology, printers have become essential devices, offering the convenience of producing physical copies of digital documents. However, encountering an issue where your HP printer is not printing anything can be frustrating. In this SEO-optimized article, we will delve into the reasons behind this problem and provide you with comprehensive troubleshooting steps and solutions to get your HP printer back to producing high-quality prints.
A non-printing HP printer can disrupt your workflow and cause frustration. It’s essential to understand the common causes of this issue and learn how to resolve them efficiently. In this article, we’ll provide detailed guidance to get your HP printer back in action.
Common Reasons Your HP Printer Is Not Printing
Several factors can lead to your HP printer failing to produce prints:
-
Connection Issues: Loose or faulty connections between the printer and the computer can disrupt the printing process.
-
Low or Empty Ink/Toner: Insufficient ink or toner levels can result in faded prints or blank pages.
-
Print Queue Overload: Pending print jobs can clog the print queue, preventing new print requests from being processed.
-
Outdated or Corrupted Drivers: Drivers that are outdated or corrupt can cause printing issues.
Troubleshooting Steps for HP Printer Not Printing
3.1. Check Printer Connections
- Ensure that all cables connecting your printer to the computer are securely plugged in.
- Verify that the printer is powered on and online.
3.2. Verify Ink or Toner Levels
- Check the ink or toner levels on your HP printer’s control panel or using the HP Smart app.
- Replace any empty or low cartridges.
3.3. Clear Print Jobs Queue
- Open the Control Panel on your computer and access the Printers and Devices section.
- Locate your HP printer, right-click, and select “See what’s printing.”
- Cancel all print jobs in the queue.
3.4. Update or Reinstall Printer Drivers
- Visit the HP website and download the latest drivers for your printer model.
- Install the drivers and follow the on-screen instructions.
3.5. Run HP Print and Scan Doctor
- Download and run the HP Print and Scan Doctor, a free diagnostic tool provided by HP.
- Follow the tool’s instructions to identify and fix printer issues.
Advanced Troubleshooting for Persistent Issues
4.1. Printhead Cleaning (Inkjet Printers)
- Access your printer’s settings and find the printhead cleaning option.
- Run the cleaning process to clear clogs or dried ink from the printhead.
4.2. Replacing the Toner (Laser Printers)
- Open the printer’s front cover and remove the old toner cartridge.
- Install a new toner cartridge following the manufacturer’s instructions.
Preventing Future Printing Issues
To prevent future printing problems, consider the following:
- Regularly clean your printer’s printhead (for inkjet printers).
- Use high-quality, genuine HP ink or toner cartridges.
- Keep your printer’s firmware up to date
In conclusion, troubleshooting and resolving HP printer not printing anything issues with your HP printer can save you time and frustration. By following the steps outlined in this article, you can tackle the most common causes of non-printing and maintain your printer’s reliability for years to come.